
 English
 España
 عربي
عربيHow does the male ball valve design enable smooth and effortless on/off operation?
The male ball valve design is a key characteristic...
MORE >>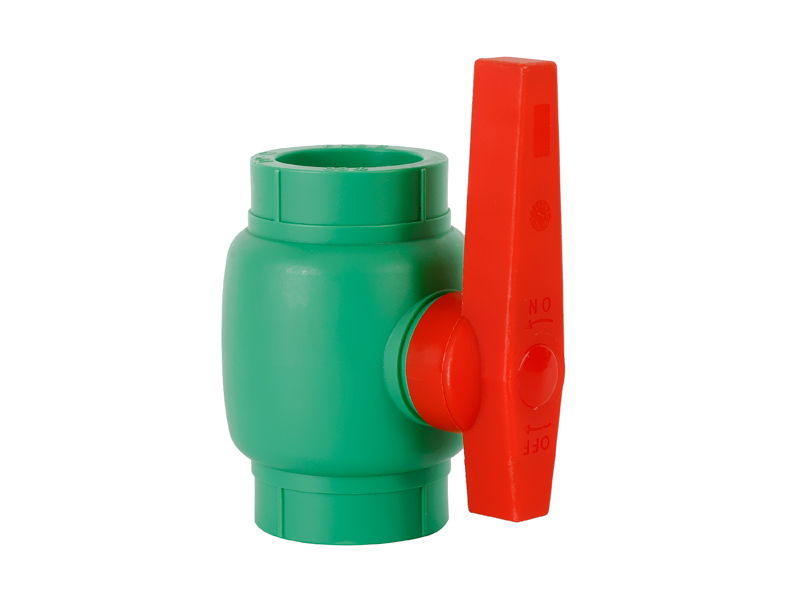


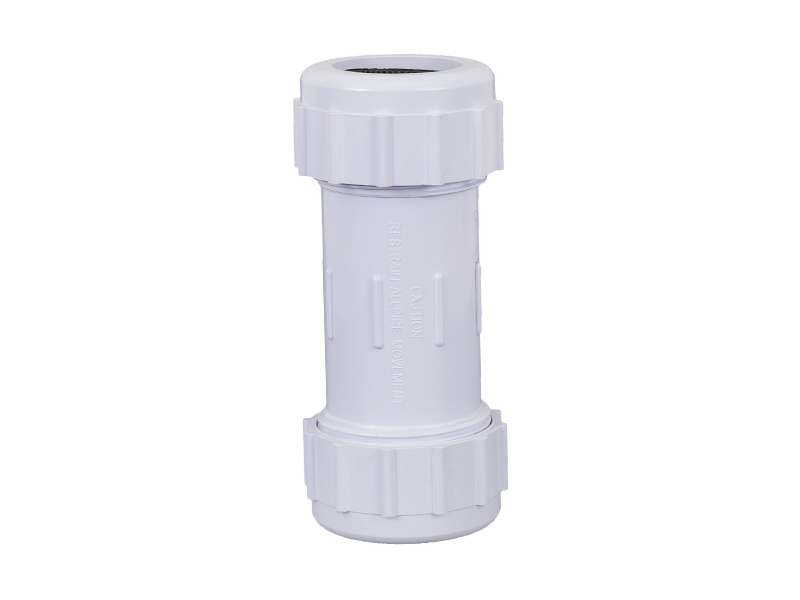
Ball valves can be installed in vertical or horizontal […]
Ball valves can be installed in vertical or horizontal pipes, they are bi-directional so flow direction is not important, but it is best practice to set the valve handle to point in the flow direction whenever possible. Stem orientation doesn't matter, but any deviation from vertical is a compromise. Upside-down installation is not recommended as it can cause the stem packing to accumulate dirt. Best practice is to install the valve with the stem facing up as much as possible. Check ball valve ports, seat surfaces, and threads to make sure they are clean and free of foreign matter. Operate the valve from the fully open position to the fully closed position.
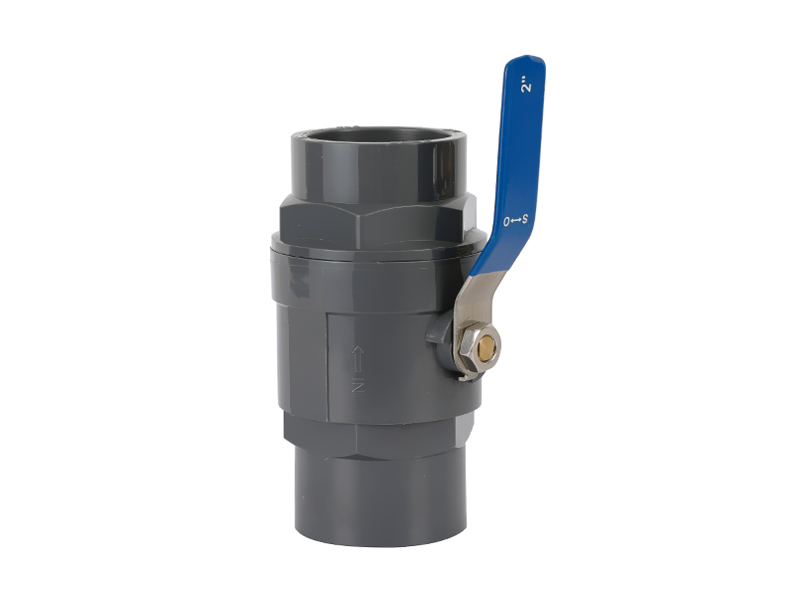
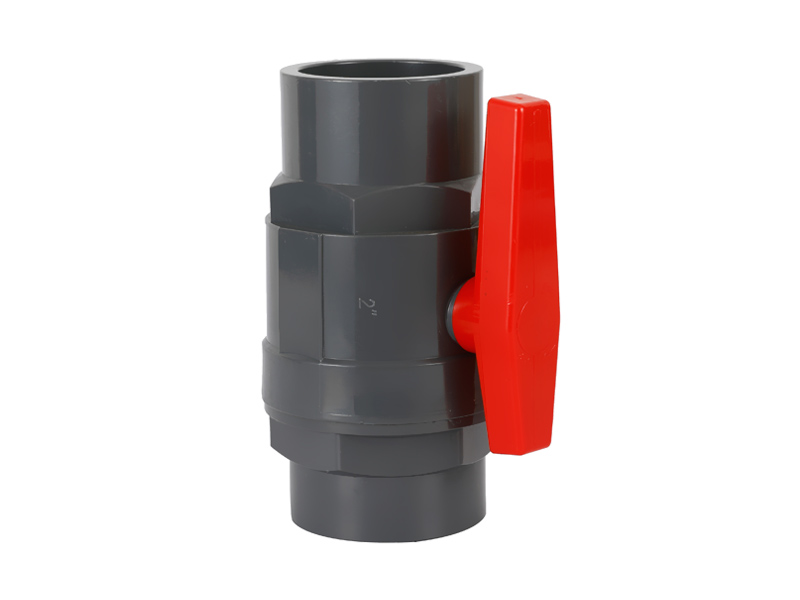
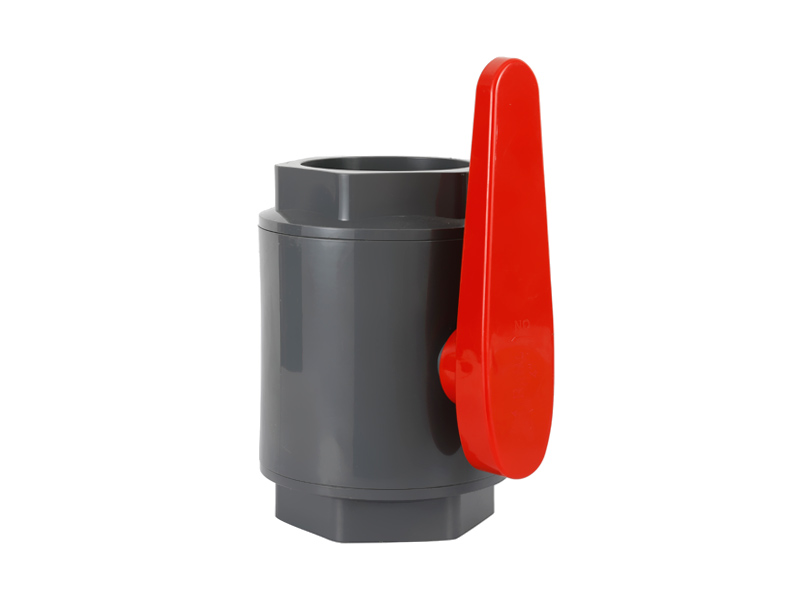
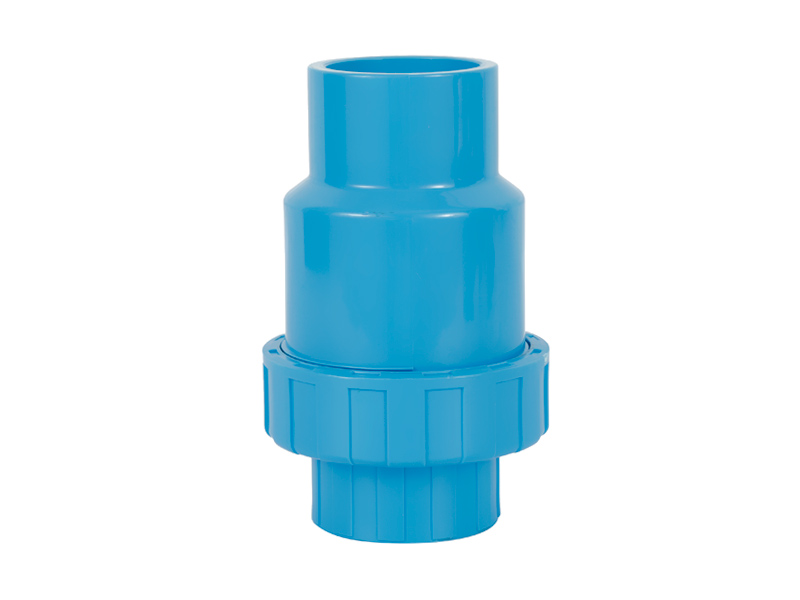
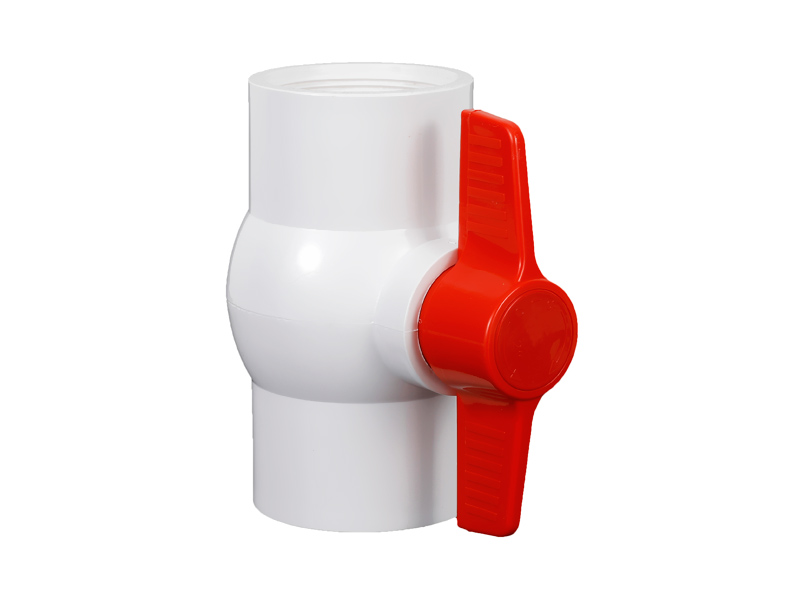
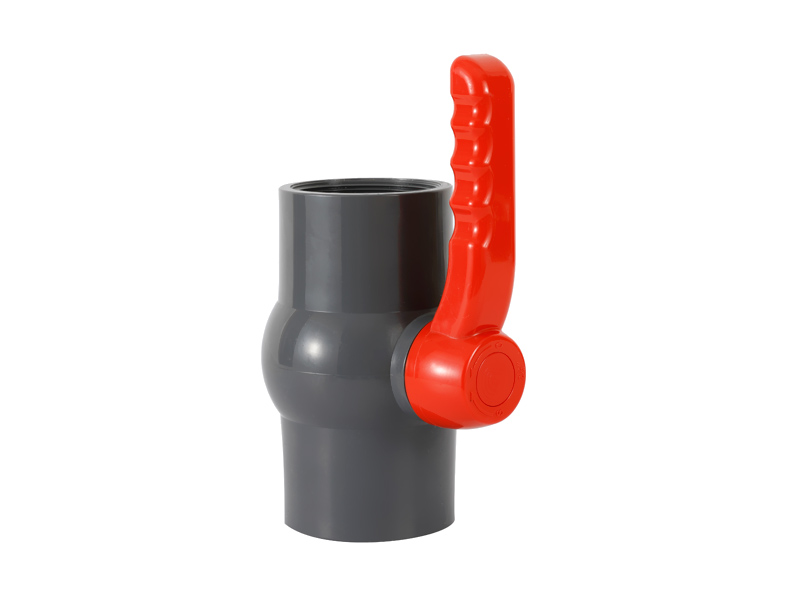
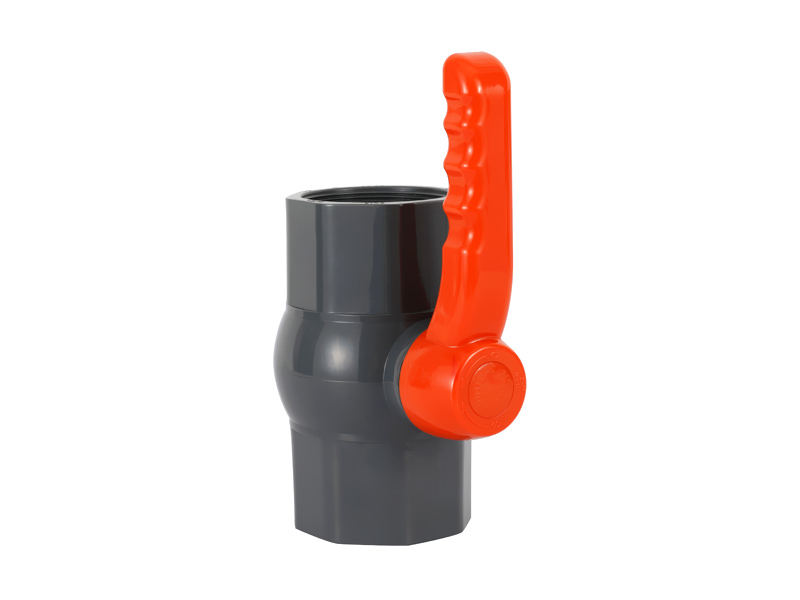
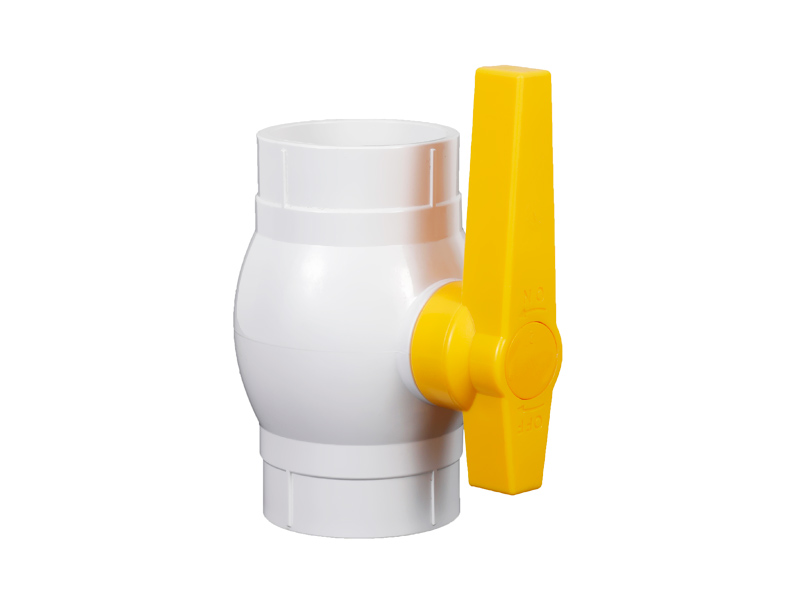
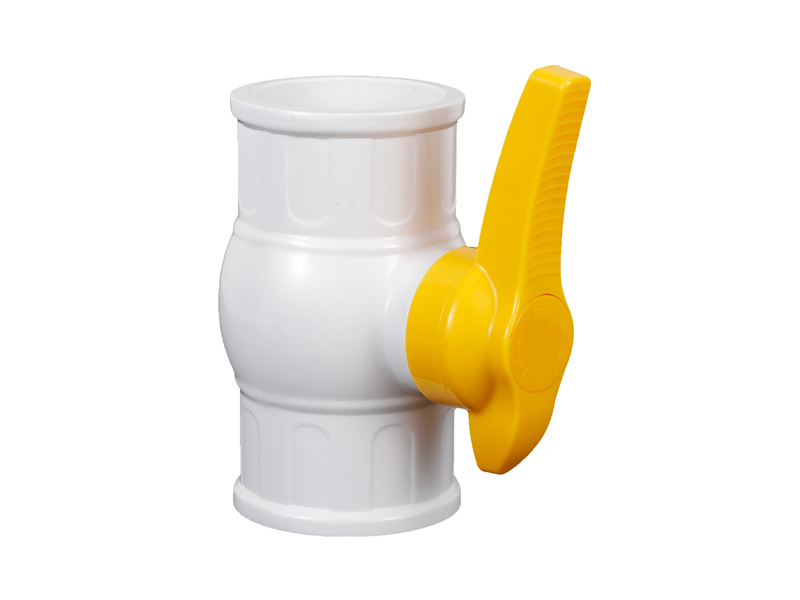
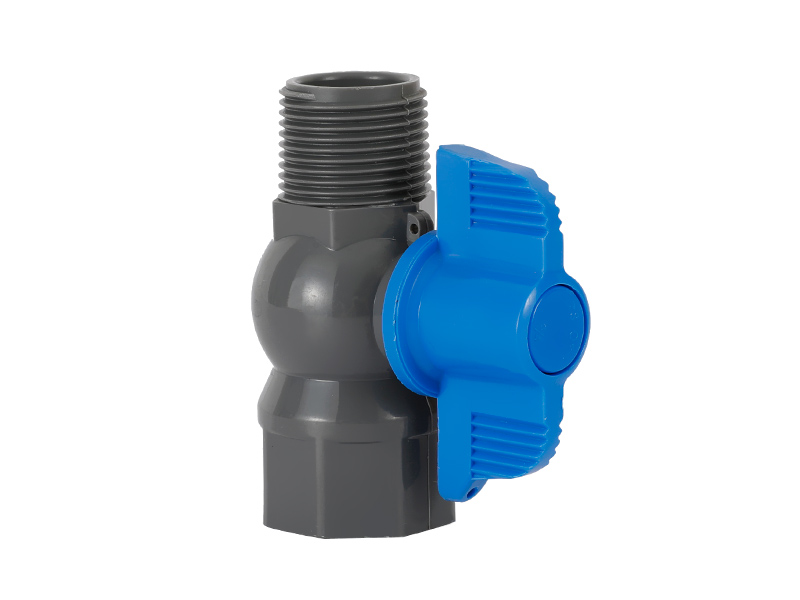
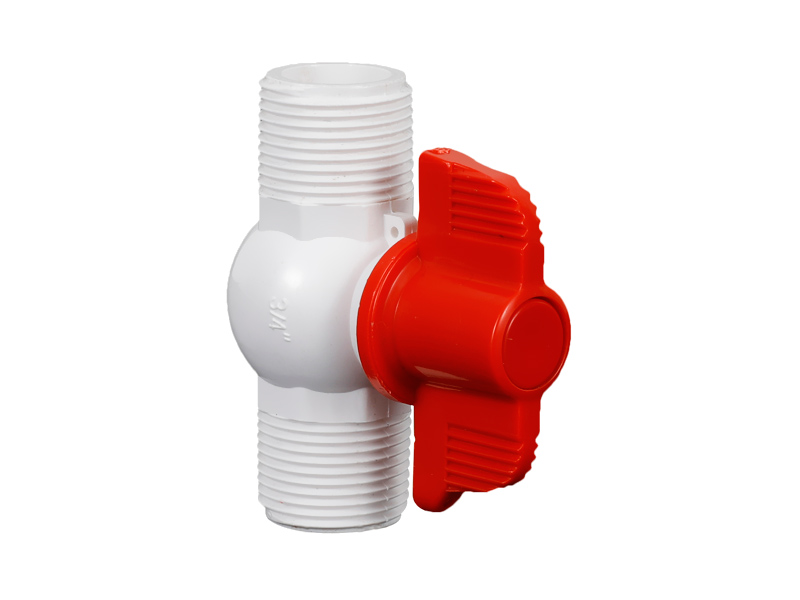
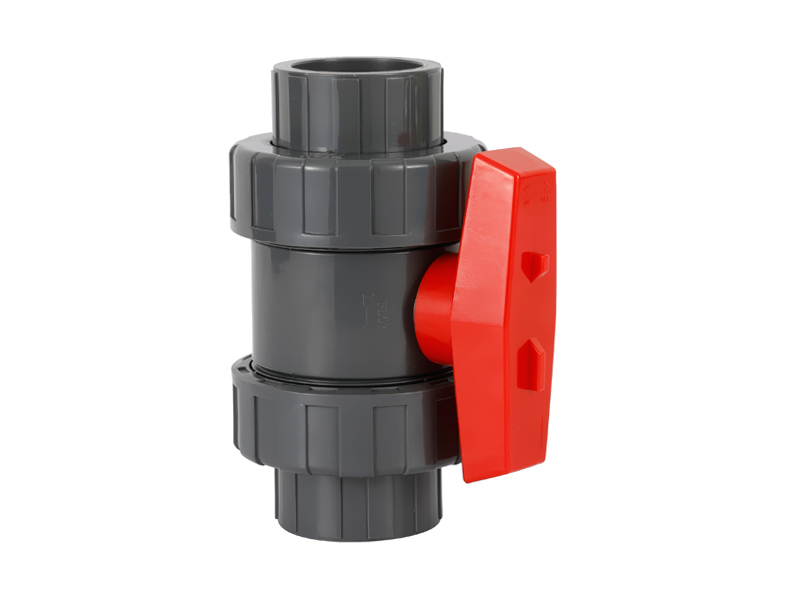
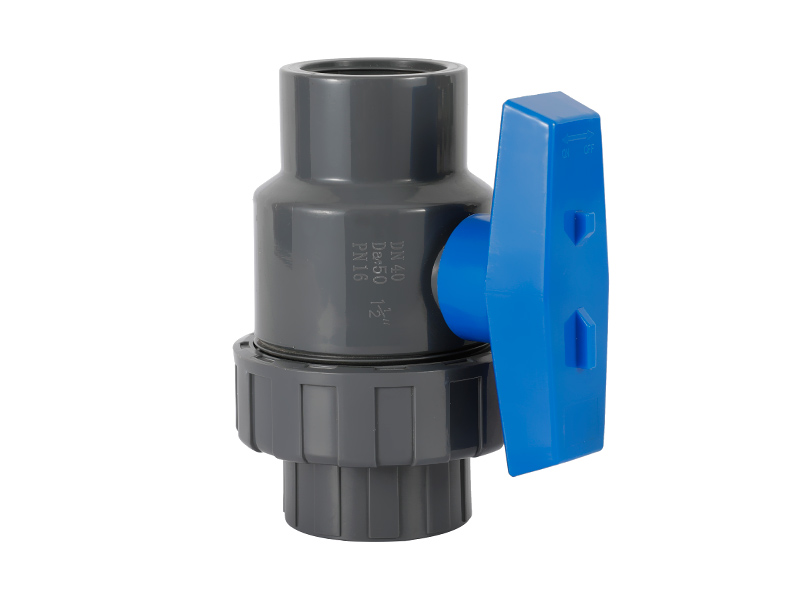
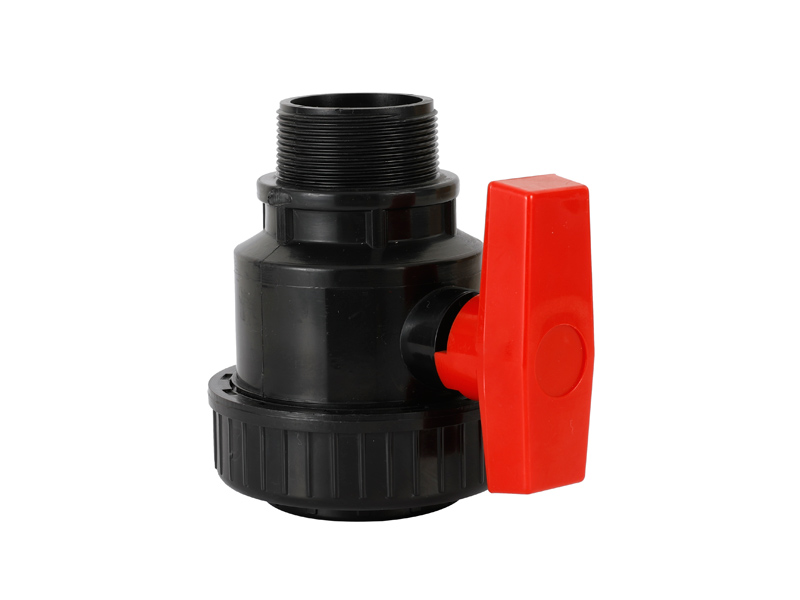
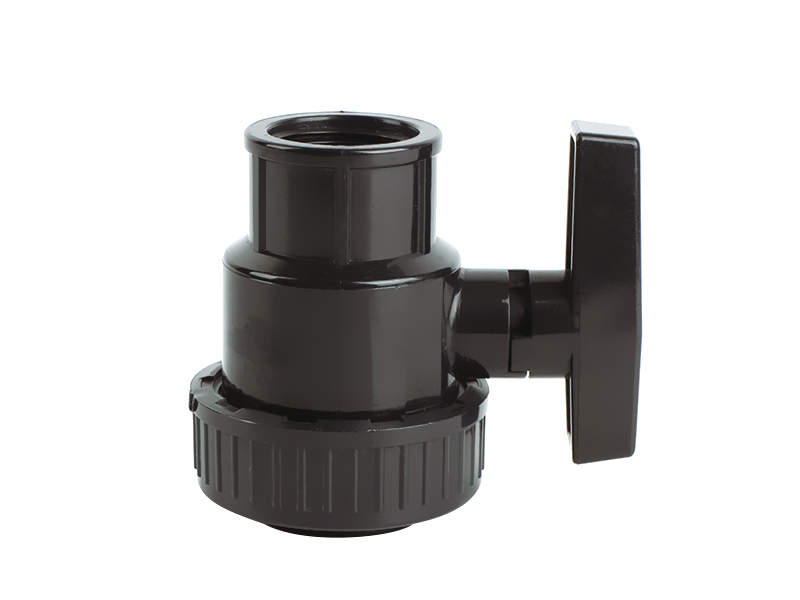
3/4-2" Plastic PVC MF Single Union Ball Valve
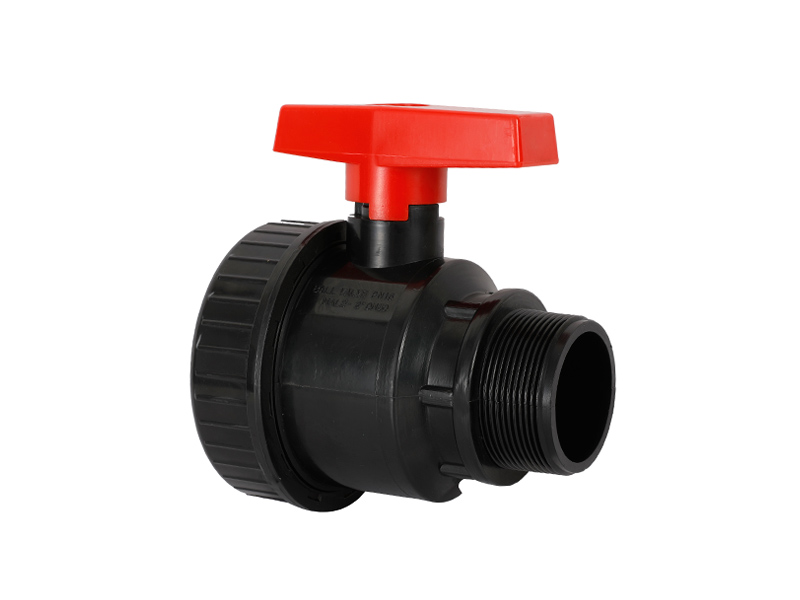
Use: Agriculture irrigation/Mariculture/Swimming pool/Engineering construction
Style Number: XE05002-XE05006
Standard: CNS/JIS/DIN/BS/ANSI/NPT/BSPT
Color: Many colors available for choice
Material: UPVC
Sample: Free provided
Certificate: ISO9001:2015, SGS, GMC, CNAS
Make sure that the threaded fittings to be screwed into the valve are accurate, clean, and free of foreign objects or metal chips. Apply a high-quality pipe thread sealant or PTFE thread sealant tape according to the manufacturer's application instructions to ensure a leak-free pipe joint seal. Valves and pipes must be aligned to prevent cross-threading, and male fittings need to be aligned with the axis of the threaded hole. Maintaining proper pipe alignment during assembly can eliminate unnecessary stress on the valve body. Support the valve and piping in alignment to prevent any unnecessary stress on the valve body by connecting piping. Pipe supports must be able to maintain pipe alignment and support the weight of fittings, valves, pipes and their contents.
When installing two-piece ball valves, always use two wrenches when assembling the fittings for these valves. Place one wrench on the valve end closest to the fitting being tightened and the other wrench on the pipe to prevent torque from being transmitted between the body and tailpipe through the body fitting. This also prevents deformation of the internal parts of the valve. until you feel the connector start to seat and the connector is almost pointing in the desired direction. Then, if you have less movement per attempt, increase the tightening force slightly and keep tightening until you have proper alignment and you should have a sound joint.
If the movement stops suddenly, you may have bottomed out against the stop in the valve body back connections to achieve proper alignment. Do not over-tighten the valve to the pipe as this may distort the valve's internal parts or cause stress fracture of the valve body. As a general guideline, after hand tightening, an additional 1-½ to 3 turns, for sizes up to 1", for sizes 1-¼" and larger 1 to 2-½" full turns, you should be in 3- 1/2 and 6 thread engagement. Thread engagement outside this range may indicate under- or over-tightening of the fitting or out of tolerance threads. Required approvals and certifications, pressure and temperature ratings, valve component materials, suitability of valve body and trim (including seats and seals) are the sole responsibility of the system designer. The valve shall be installed in a piping system that complies with the applicable part of the ASME B31 standard. Special consideration may have to be given to pipe expansion and contraction and the expansion and contraction of media within the pipe system.
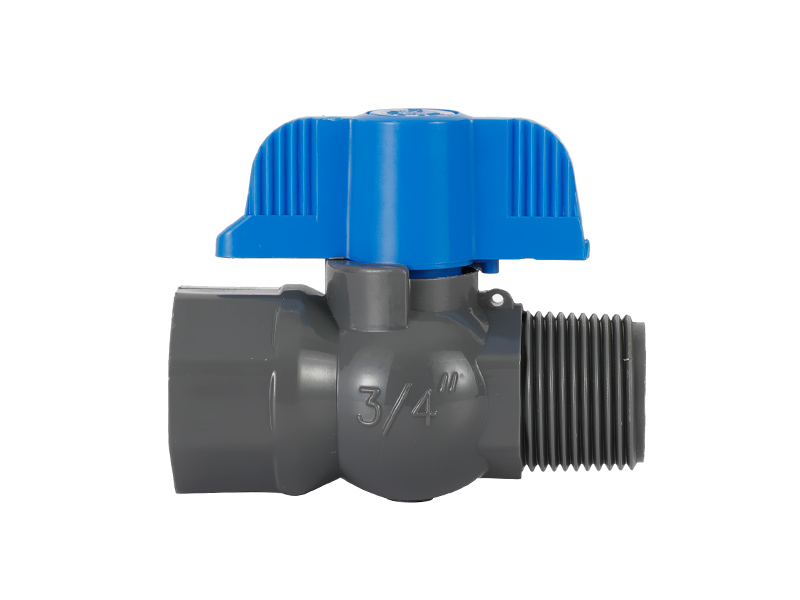
The male ball valve design is a key characteristic...
MORE >>
In today's modern world, efficient and reliable wa...
MORE >>
Copyright ©All rights reserved:Zhejiang Xier Plastic Valve Lead Co.,LTD. PVC Ball Valves Manufacturers Technical support: HWAQ  浙公网安备 33060402001174号