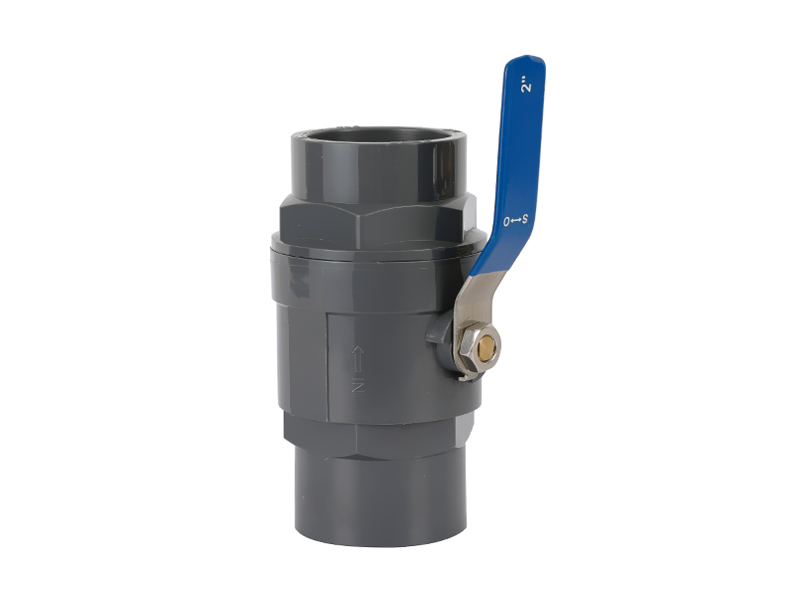
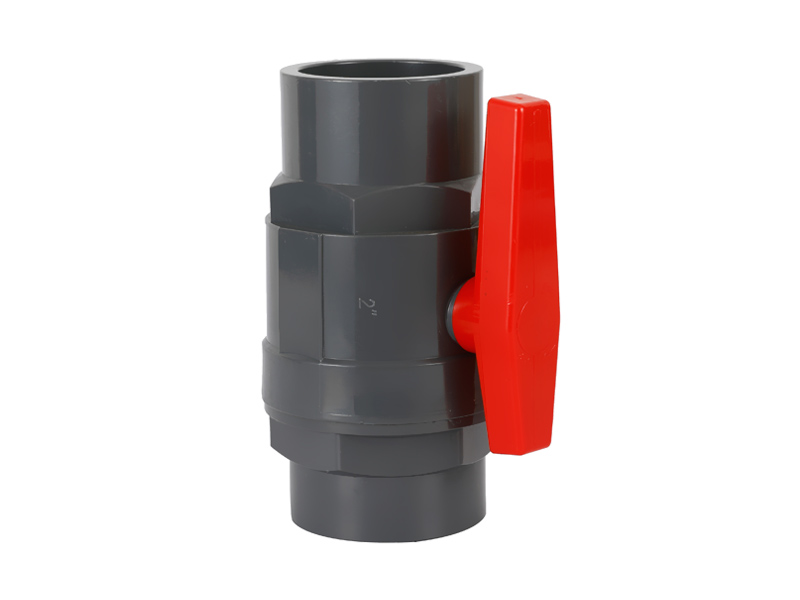
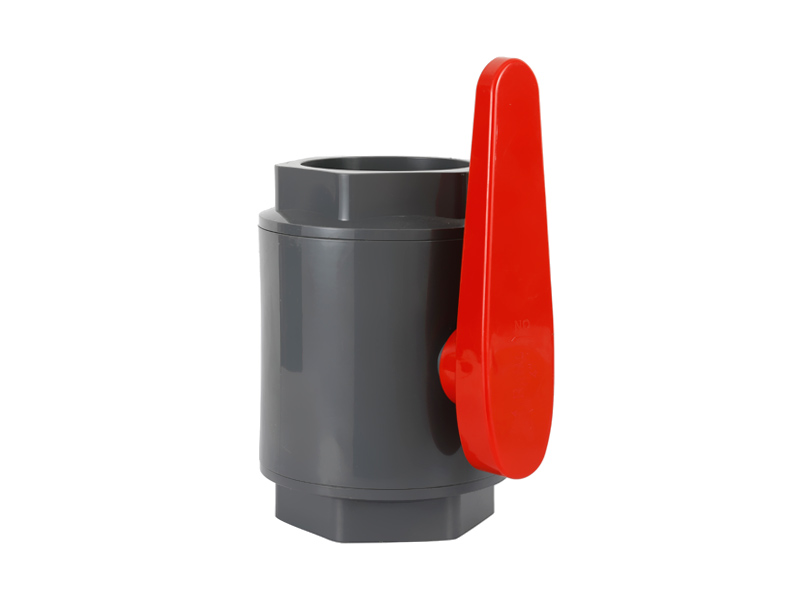
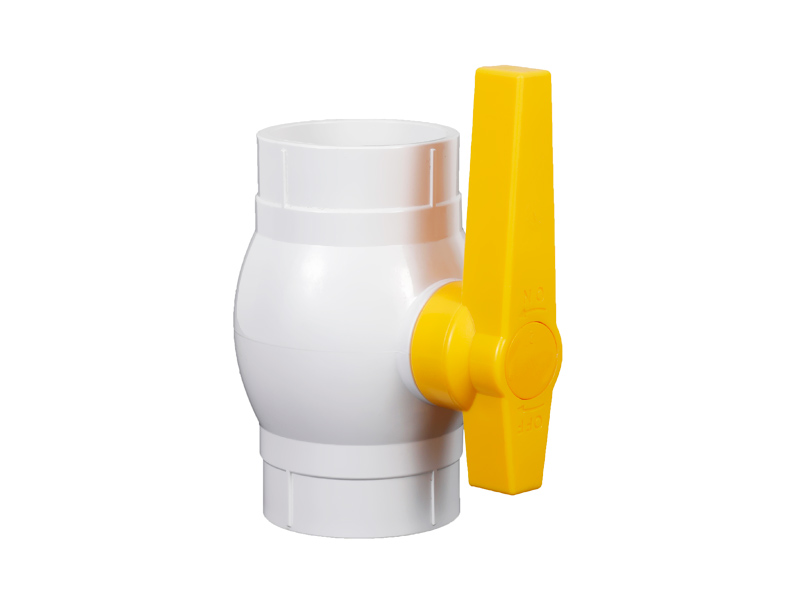
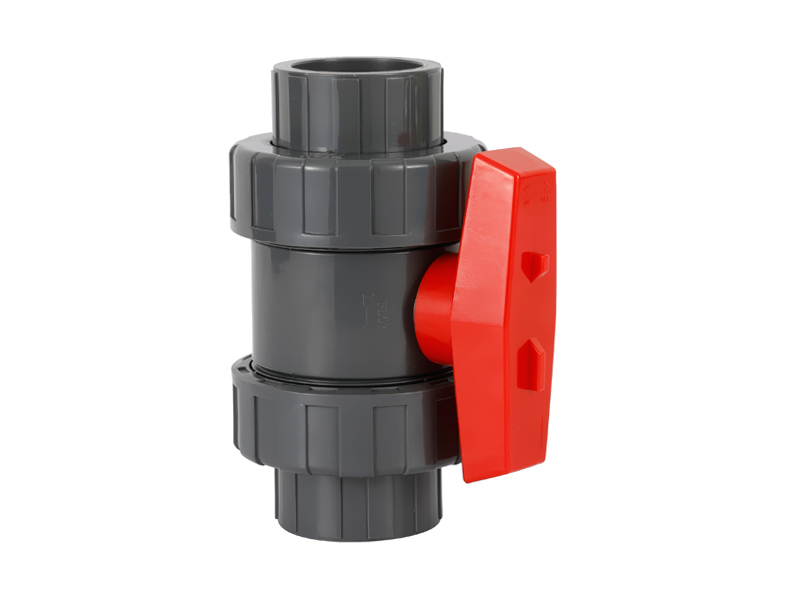
A ball valve serves a useful purpose in most plumbing projects. On these projects where you would ordinarily need to shut of the water to work on pipes, fittings, or other plumbing components, the ball valve allows you perform work without having to shut off water to your entire house. Instead, turn off a single ball valve, leaving the rest of the house with a normal water flow.
Occasionally, one of these balls can become separated from its stem, or rod. When this happens you will need to solder it or purchase a new ball valve. In order to re-attach the ball by using the soldering process, you will need a good understanding of the soldering process, how the ball valve works, and how to solder it. The five steps below will provide this information.
Understanding Ball Valve Function
In the valve ball you will find a in the surface at opposite sides of the ball. On either side of the valve are copper tubes. When the ball valve is open, the hole is aligned with an opening in these pipes, allowing water to flow freely through these holes. When the valve is closed, these holes are no longer aligned and therefore do not allow the flow of water. When the ball becomes detached, these holes cannot be aligned and water cannot flow. To repair this, you will need to reattach the ball to the handle that held it in place.
Cleaning the Valve Pipe
To clean the valve's copper pipe, first remove the pipe, Then, use emery cloth to clean the outer surface. Polish the pipe until its surface is bright and coppery looking. Clean the valve by inserting a wire brush into the top and bottom ends of the valve, then twist the brush so it cleans the inside surface.
Applying Flux
Apply past flux to both the inside and outside of the pipe. This will promote a more even distribution of the solder, once it is heated and becomes fluid.
Position the Ball Valve
Before soldering, you will need to be sure the valve is in the "open" position with the ball valve handle parallel to the pipe. Turn the pipe until you have this alignment.
Soldering the Ball Valve
Be sure to wear think gloves when heating the ball valve with your torch. Light your butane torch. Then, holding the solder wire in one hand, position the tip of the wire close to the valve seam you will solder. Begin heating the pipe at the point where it enters the valve. When the flux begins to bubble, this means the pipe is hot enough to melt the wire solder. At the seam you are soldering, touch the pipe surface with the wire solder tip until the solder melts and runs evenly around the seam. Do this again on the reverse side of the valve. Then, allow the solder to cool and solidify.

 English
 España
 عربي
عربي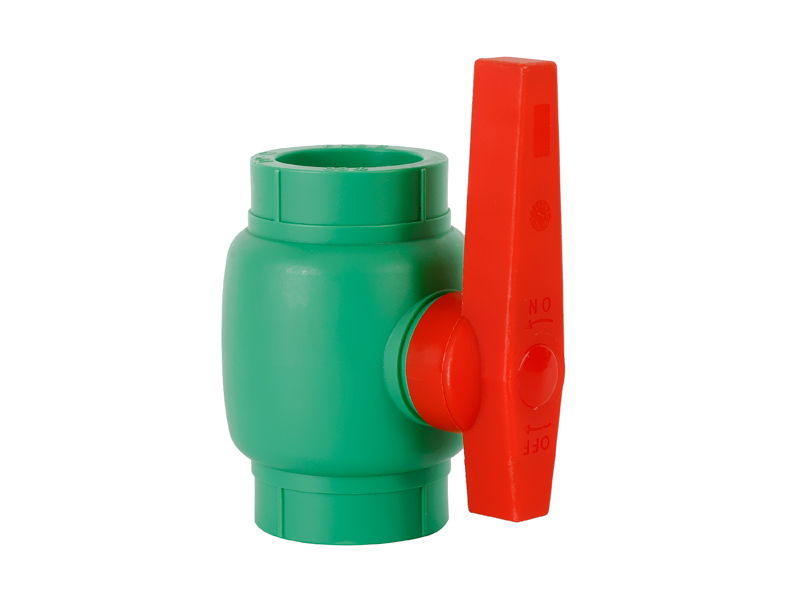


 浙公网安备 33060402001174号